Dry it Yourself
The tasty art of hoshigaki
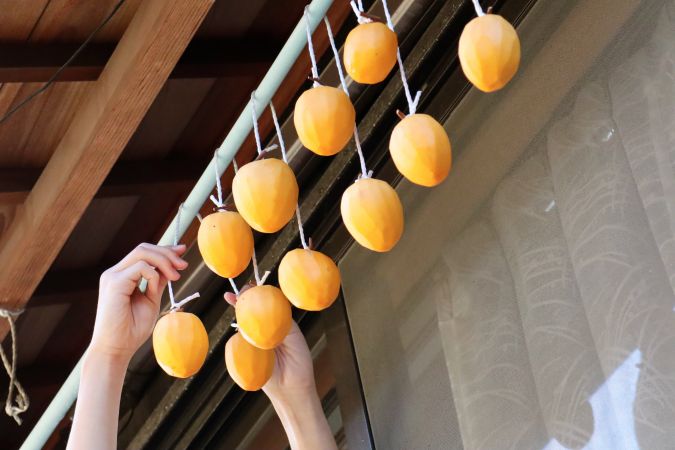
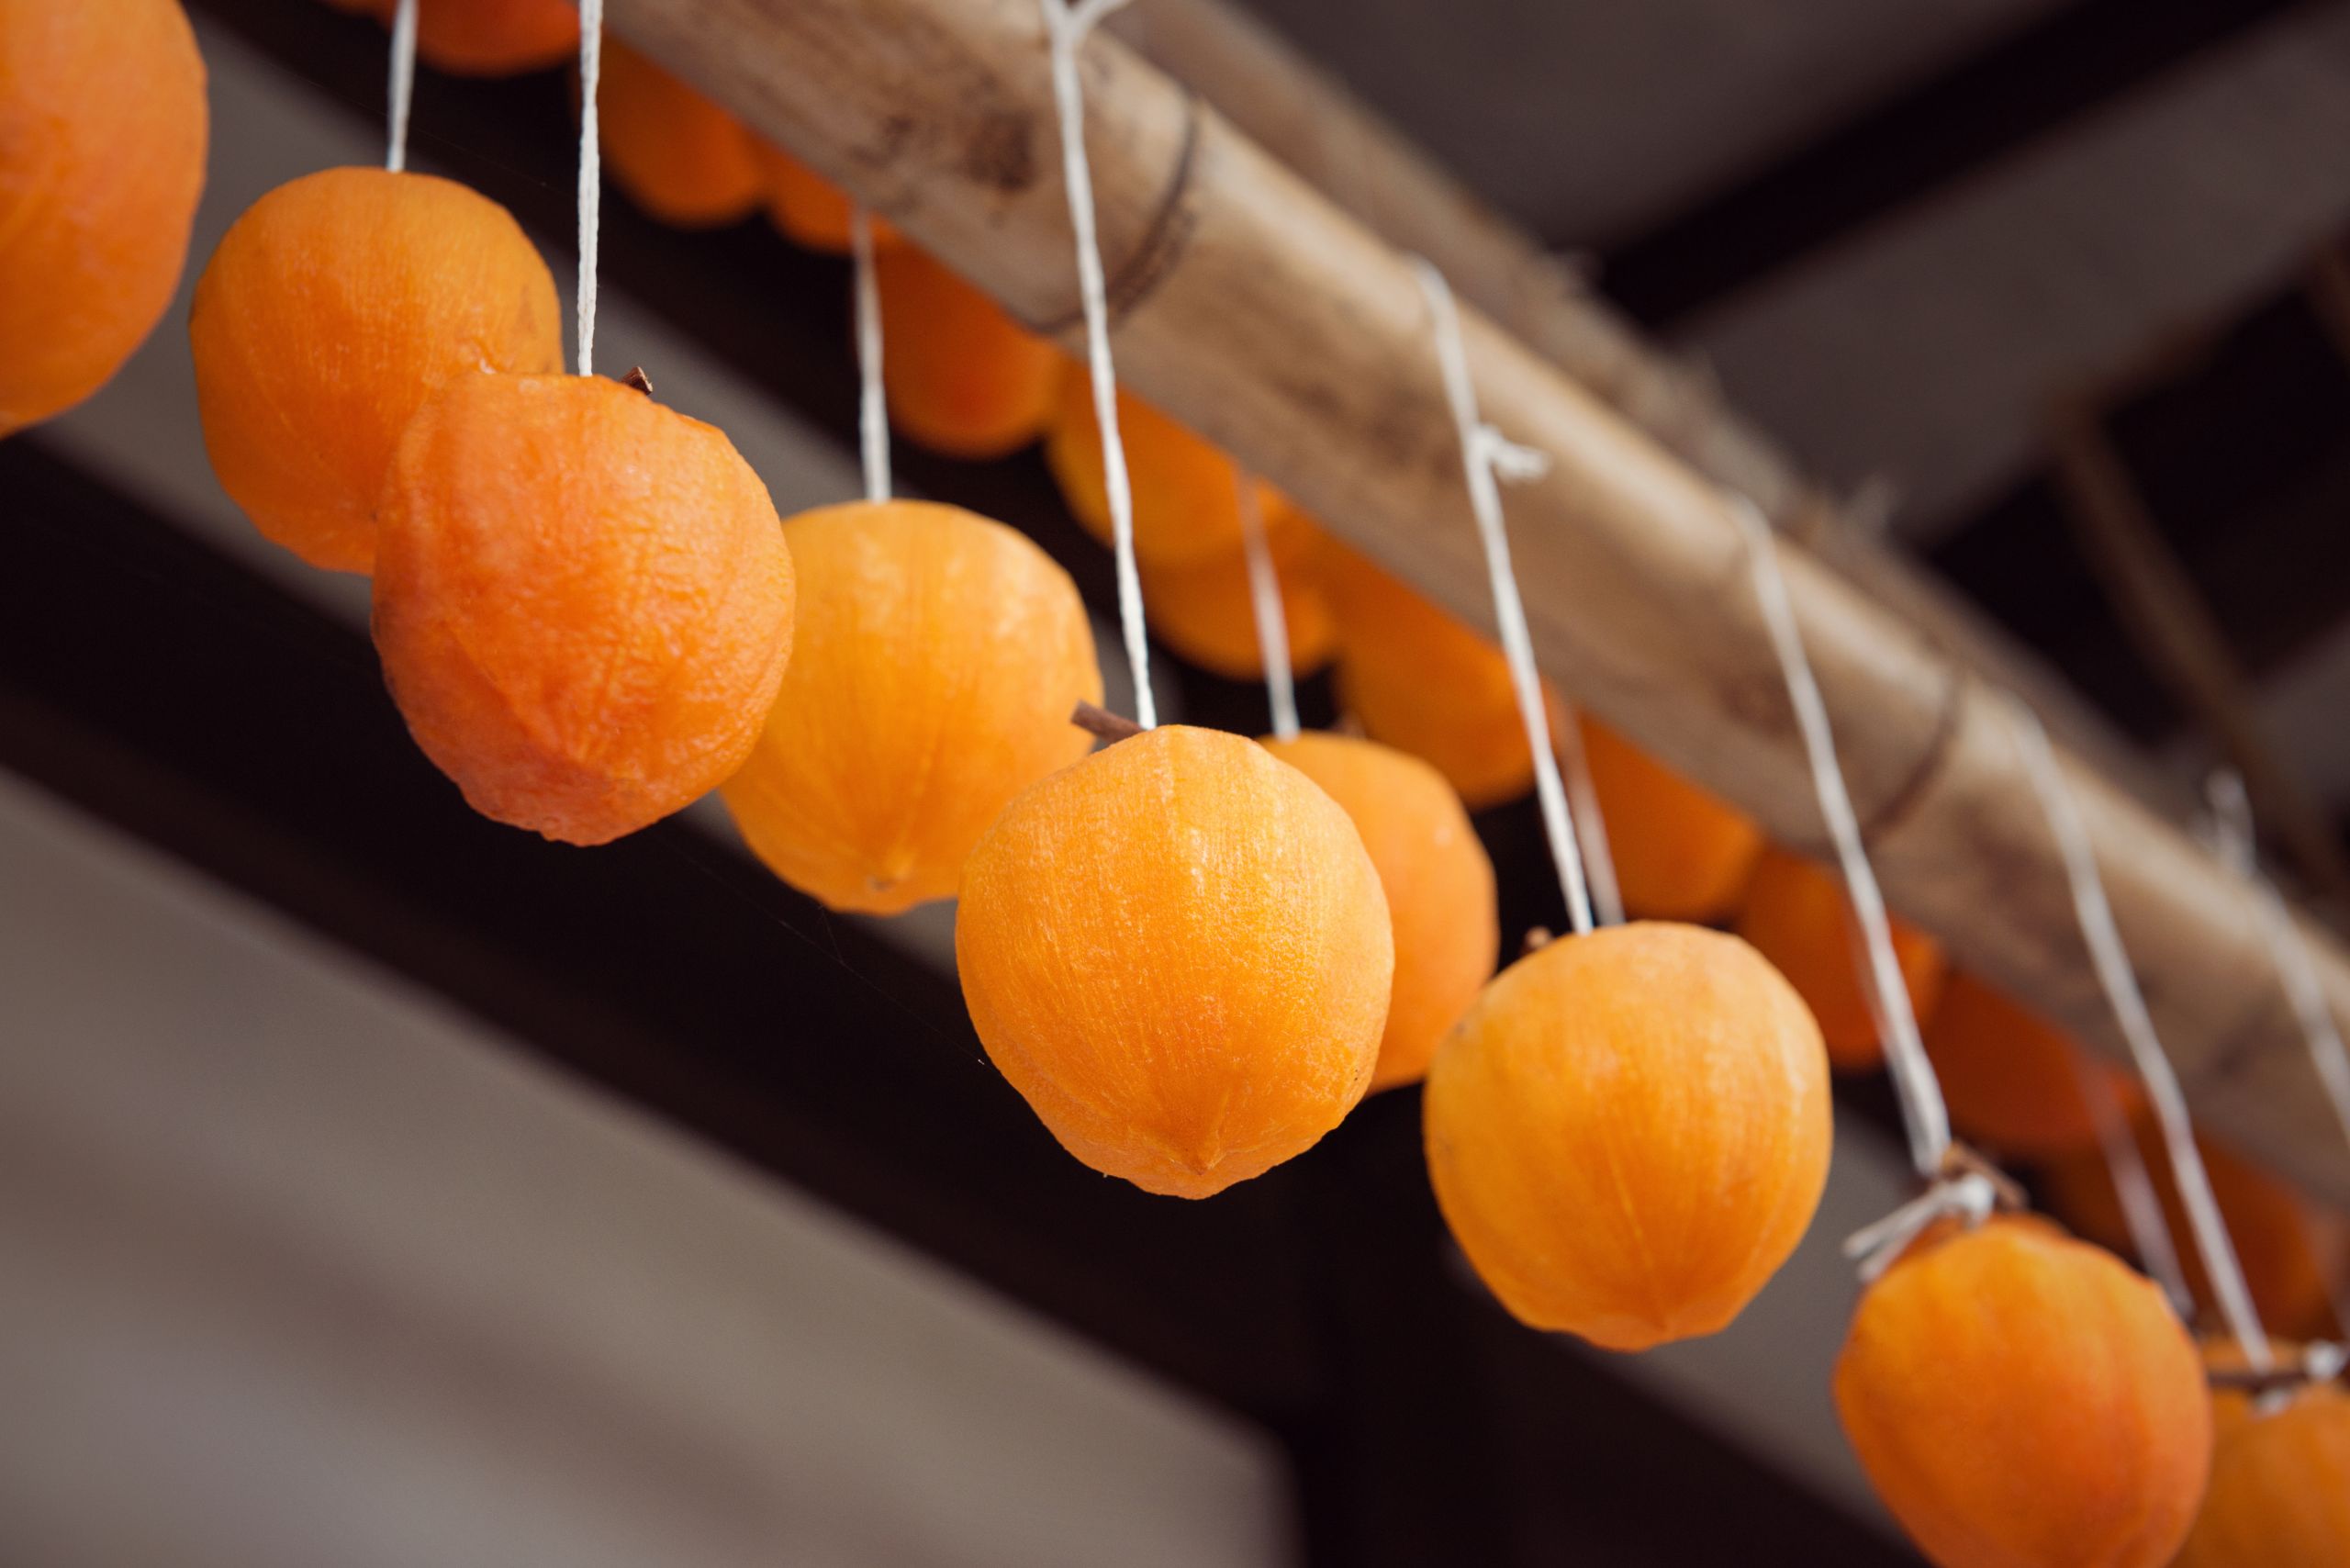
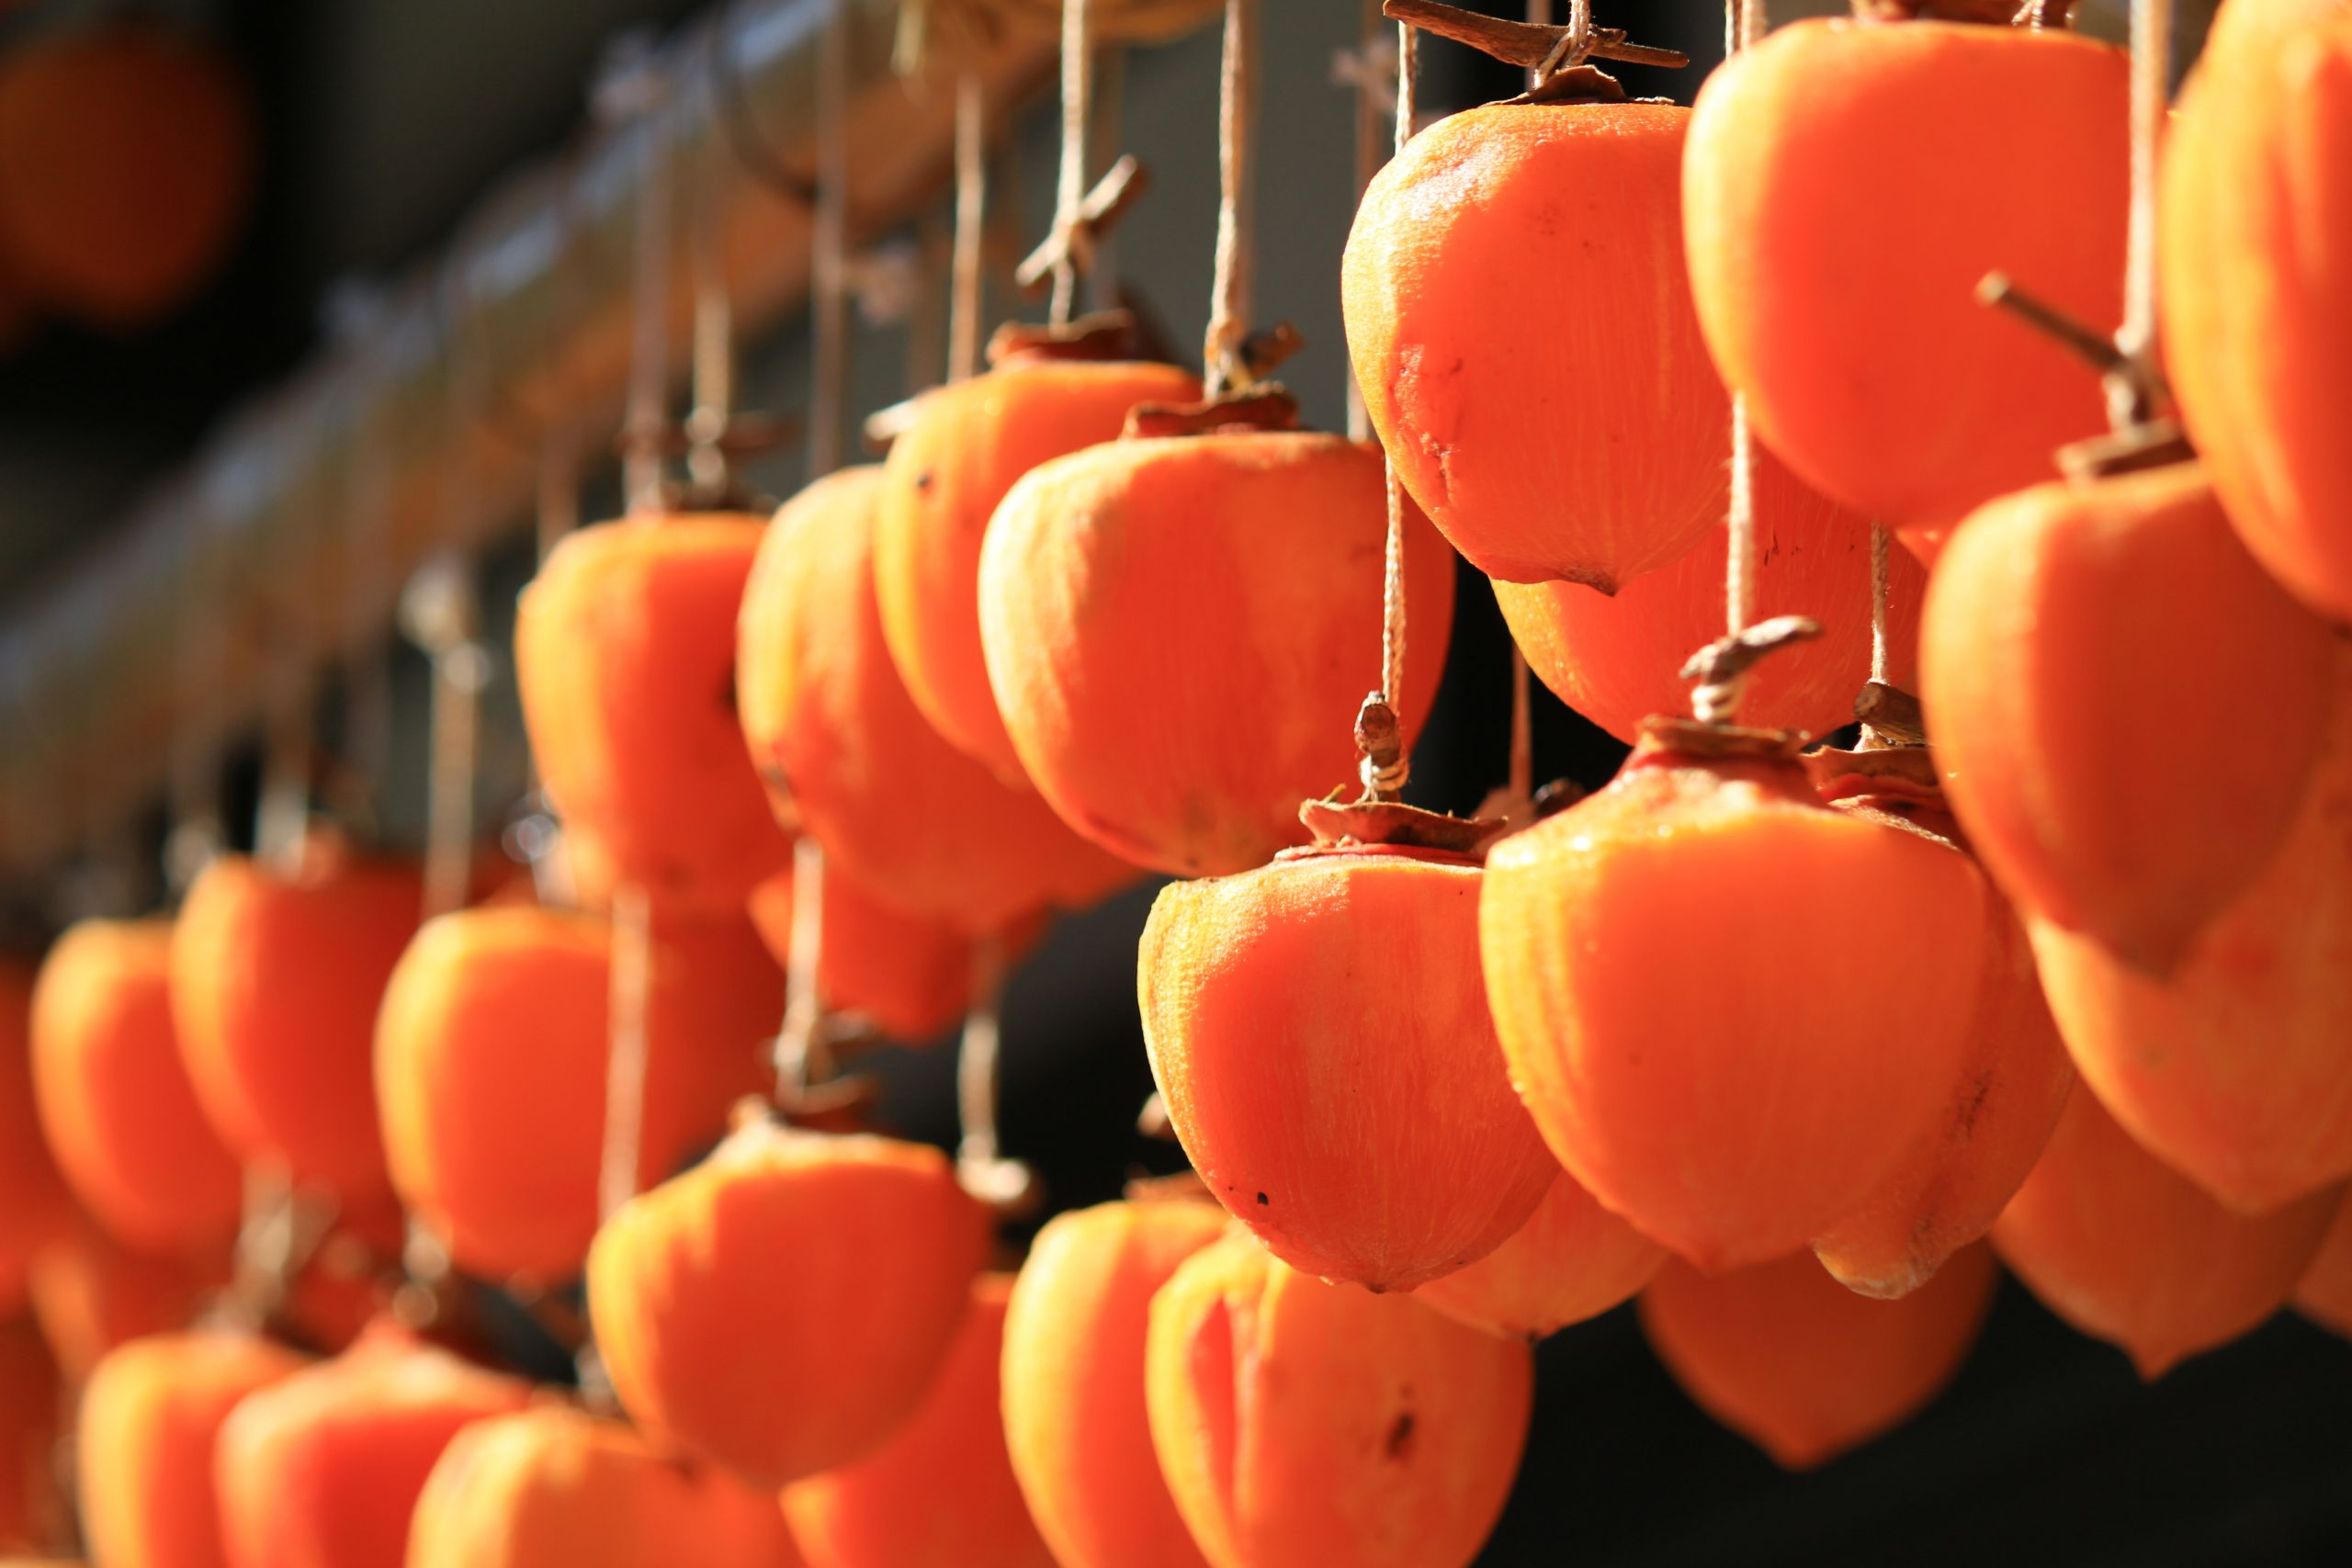
Eaves hung with heart-shaped persimmons is a classic fall scene in the Japanese countryside. Like maple leaves, the persimmon’s bright orange is stark against the earthy tones of country houses surrounded by rice fields. As colorful fall leaves then give way to a muted winter, the persimmons too lose their color until finally they’re ready to eat.
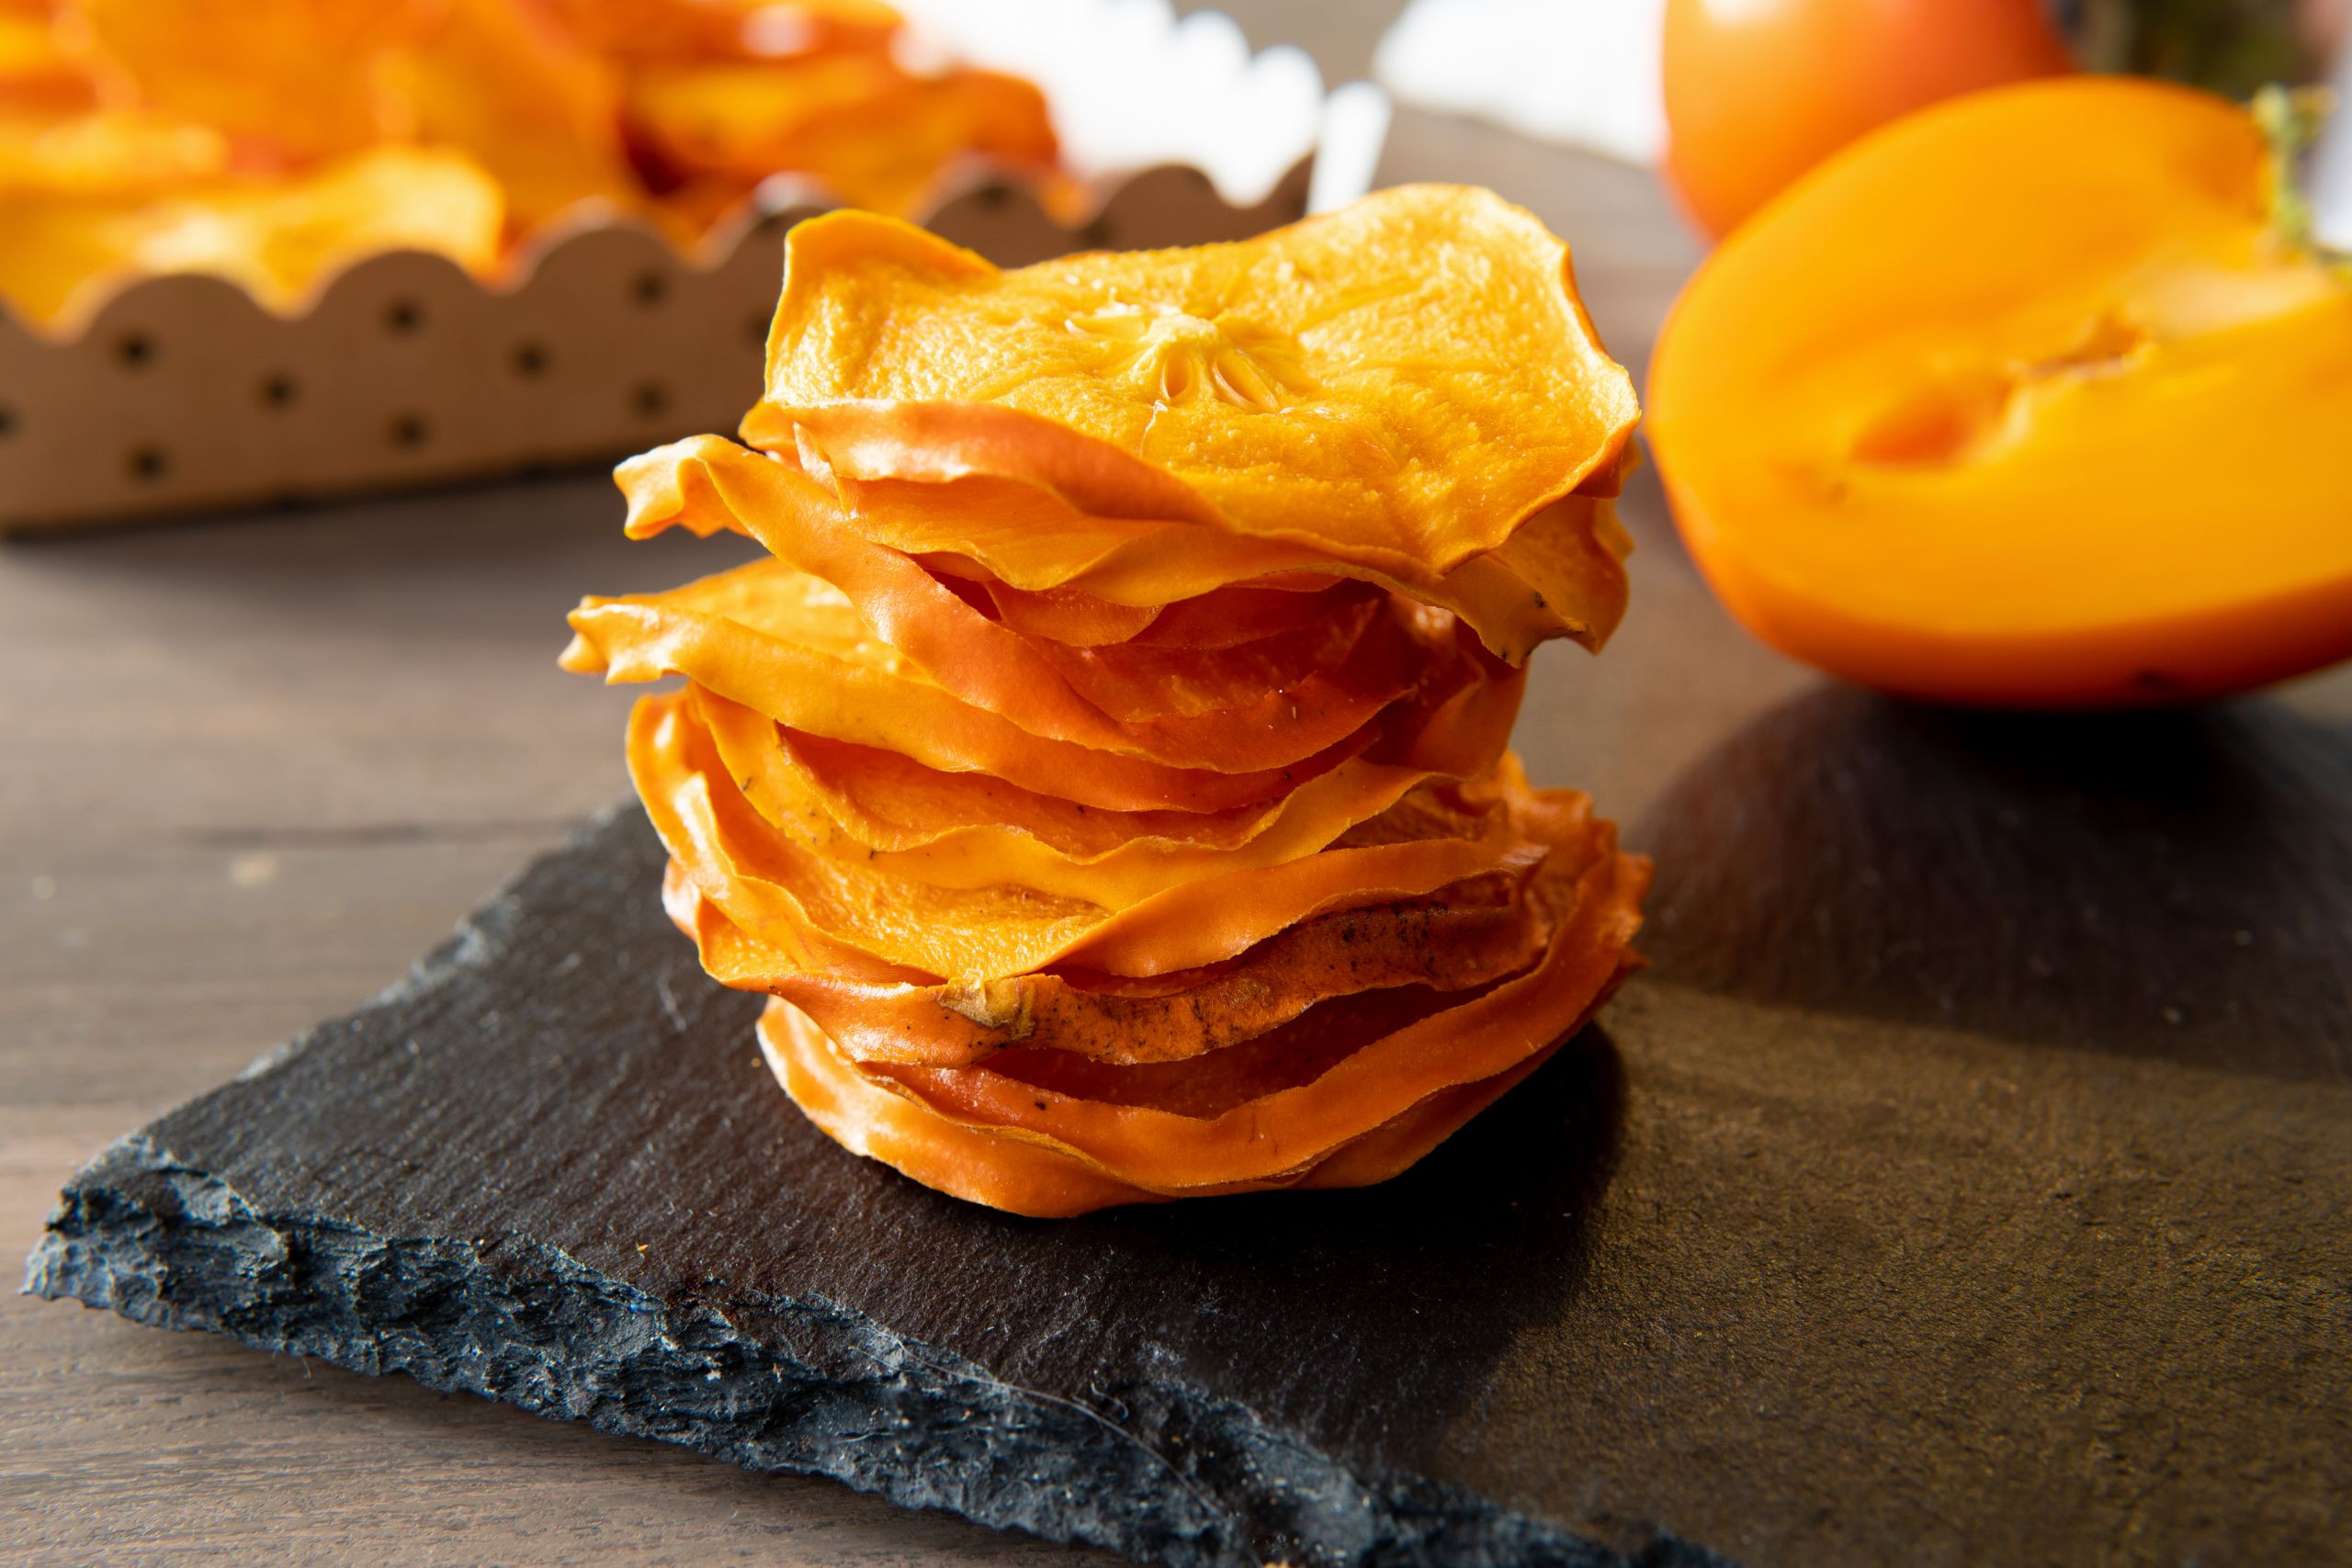
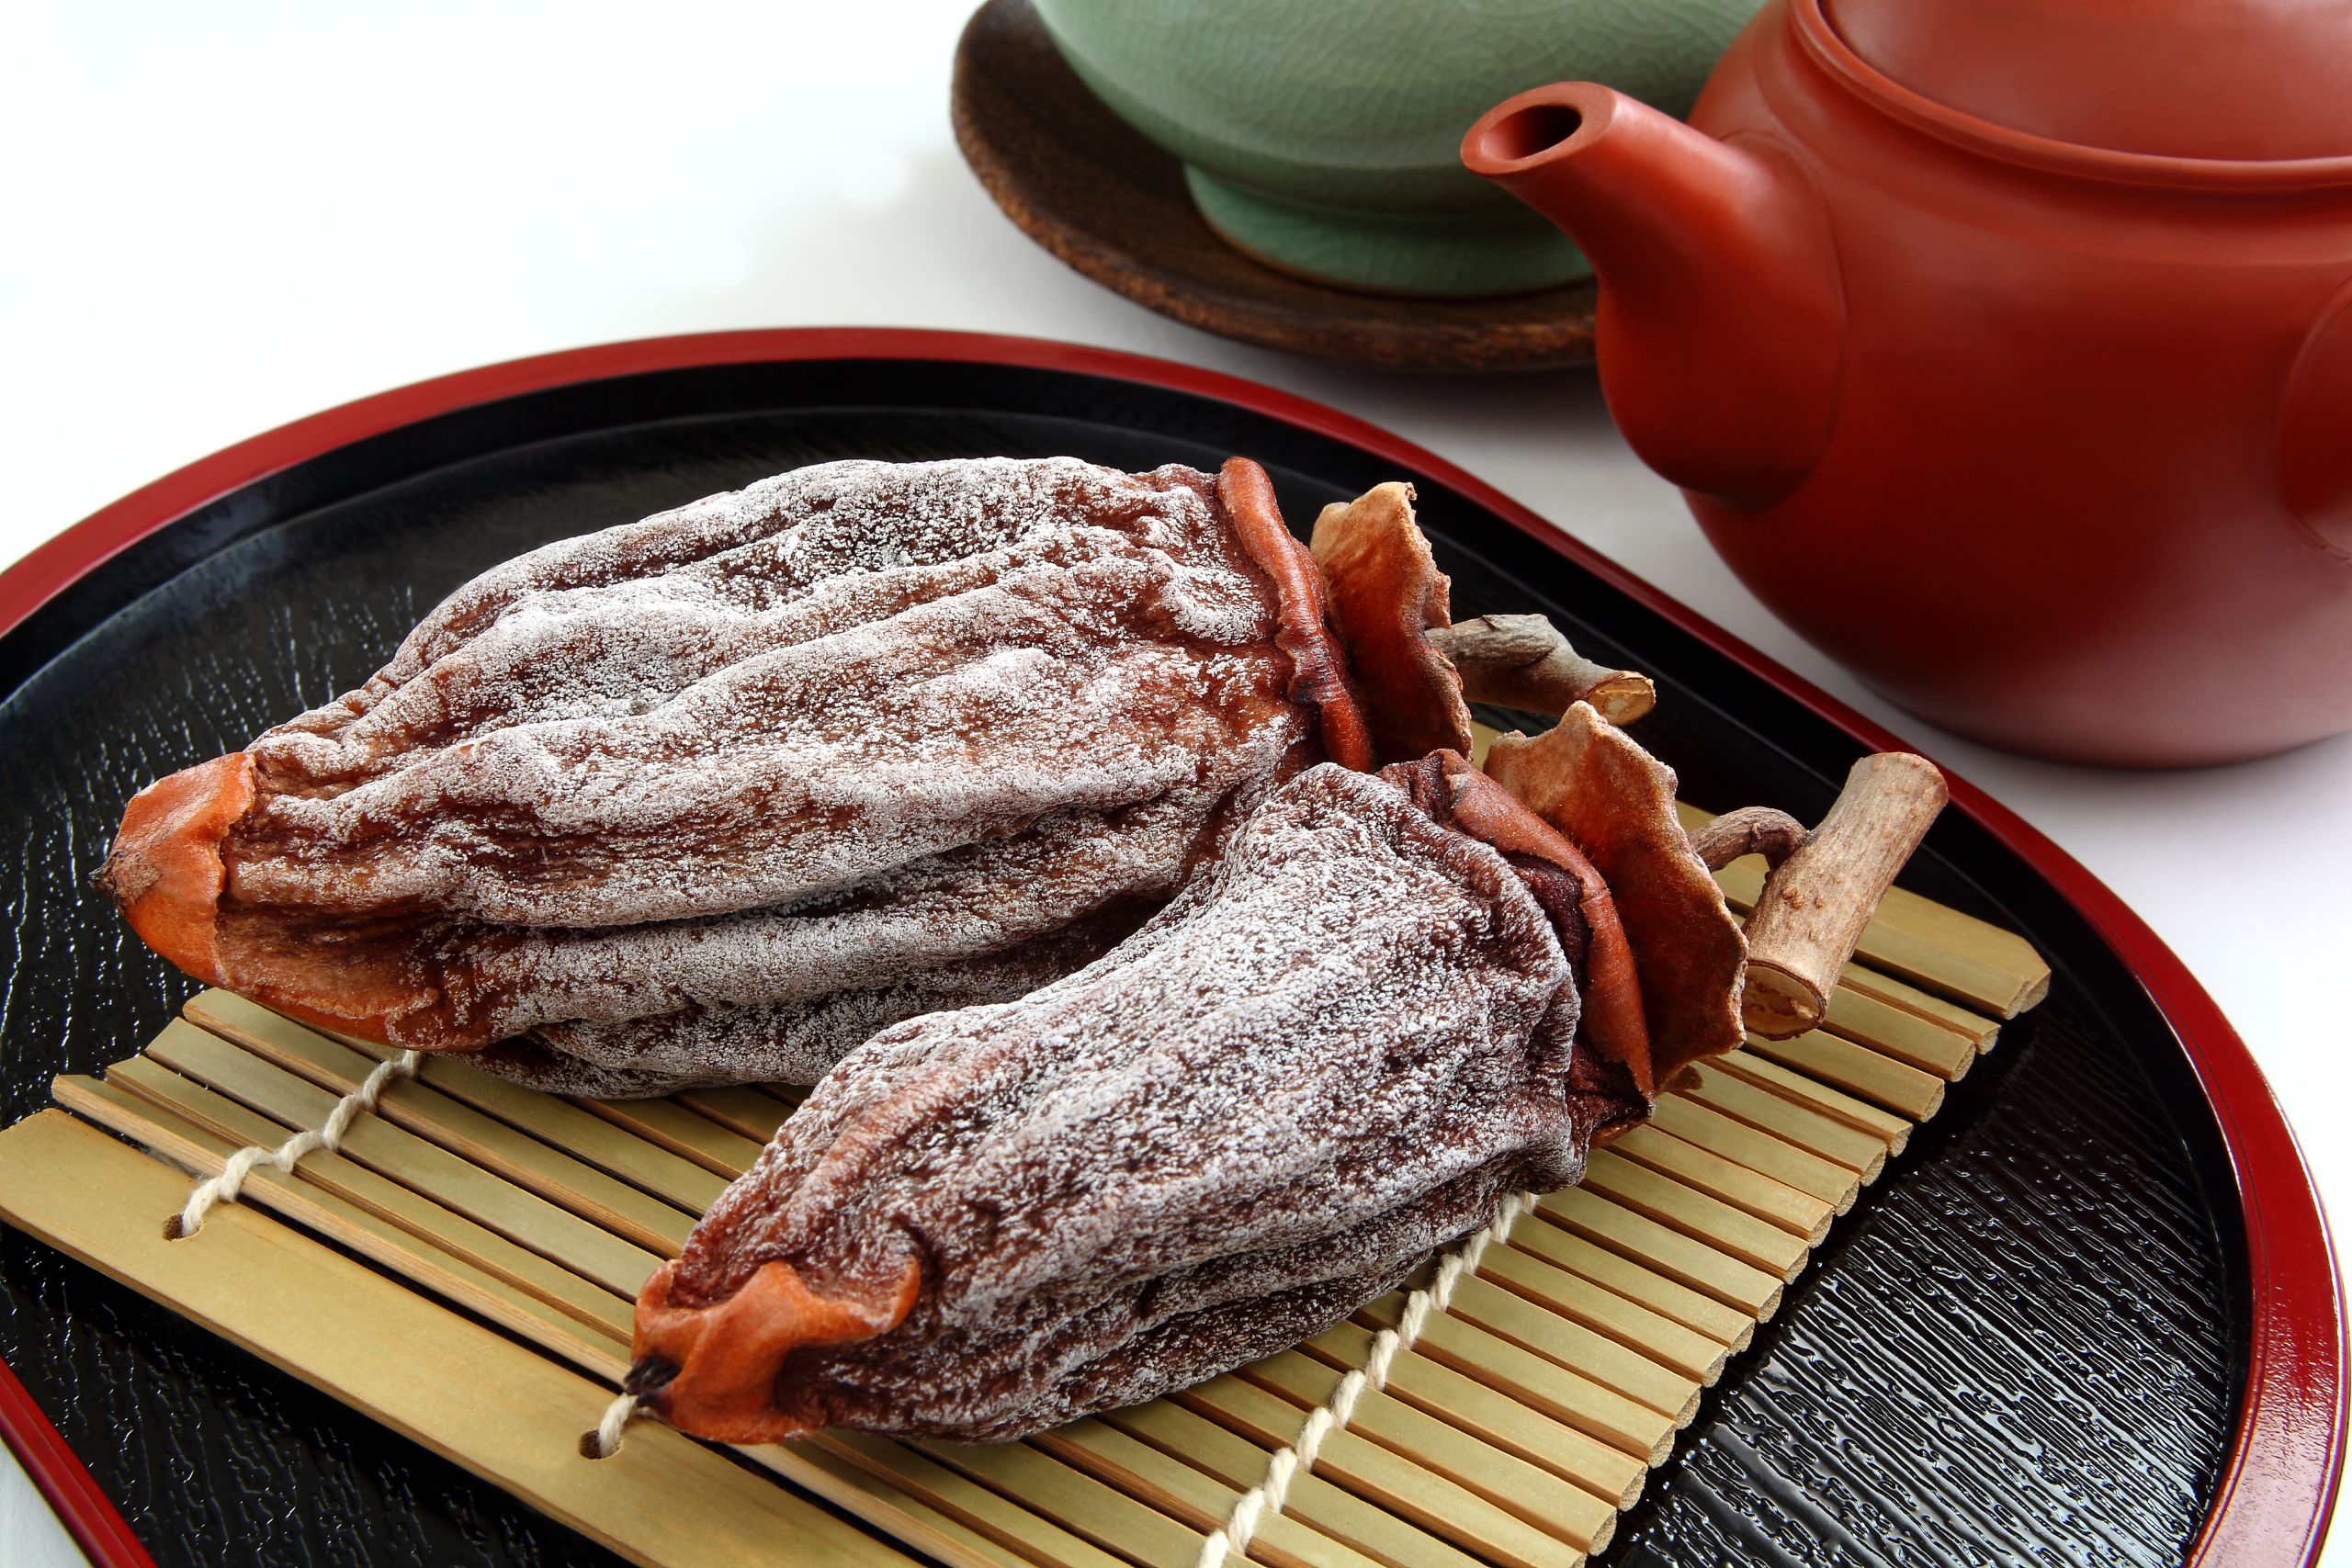
The end product of that month-long drying process is called hoshigaki, and it’s regarded as a honeyed delicacy throughout Japan. The deep brown skin is grooved with soft wrinkles. Coated in the thin white powder of crystalized sugar, the skin has a chewy texture and strikingly sweet taste. Inside oozes a thick, golden pulp. Its rich sweetness yet subtle flavor make it a memorable treat. Here’s how to make your own this year, with a few modern cheats along the way.
The Drying Tradition
Drying fruit in Japan has long been a way to preserve and elongate a harvest’s yield. Hoshigaki in particular developed in the Heian period (794 CE to 1185 CE) as a way to not only prolong the persimmon’s shelf life, but also to elevate the overall flavor and edibility of the more astringent strands. Hachiya, for example, is too bitter to be eaten raw until it is at a near mushlike stage of ripeness, making it difficult for growers to sell. But the drying process alters the flavor by making the bitter tannins insoluble, allowing for a pleasant sweetness that is much more marketable.
The traditional drying process, however, is long and meticulous. Typically starting in late October or November, it comes in two parts: first the preparation stage, and then the massaging.
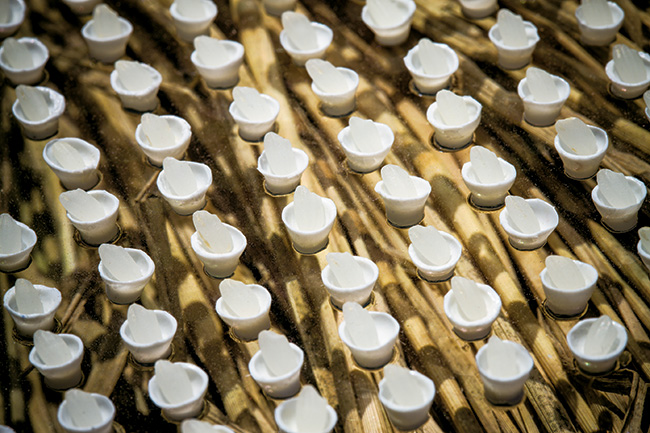
The first stage is comparatively shorter than the latter, but involves a few more steps. To start, thoroughly wash and dry the persimmon before cutting away the leaves, leaving about an inch or more of the stem behind. From the stem, tie a string or chord with enough excess left over for hanging, about one to two feet. More than one persimmon can be tied to the same string so long as they do not touch. Then, briefly immerse the entire persimmon into a pot of boiling water to purify the exposed fruit. Finally, hang the creation from the eaves of a house or apartment so it can get lots of sunlight. Then leave the persimmons alone for six to seven days.
Once their skins begin to harden, it’s time for the five-week-long massaging stage to start. Massaging is crucial for achieving the perfect texture and for assisting in the preservation and sugar crystallization processes. Depending on your personal schedule, you can massage persimmons every other day or every few days. During this period, it’s essential to carefully wipe away any mold without disturbing the developing white sugar crystals. Considering all this, drying persimmon takes around six weeks.
Tastes, Uses and Benefits
Though often savored simply by itself or alongside a cup of green tea, there are also various traditional confectionery and New Year’s dishes that exploit its natural sweetness. In the winter months, it’s also common to see the dried fruit featured in seasonal salads, charcuterie selections, or marinades and sauces.
While younger generations tend to say hoshigaki is too sweet by itself, older folks often claim that natural sweetness provides a healthy form of energy. The fiber rich hoshigaki aids digestion, and is also nutrient-dense. Though the fruit loses most of its natural vitamin C during the drying process, it’s still a good source of potassium and vitamin A.
Dry It Yourself
Due to the laborious drying process, hoshigaki can be pricey if bought from a store or market. The hoshigaki is often a seasonal homemade gift given to friends and neighbors. These days, however, persimmons aren’t strung up to dry outside in larger towns or metropolitan areas due to fear of contamination from air pollutants. Instead, the drying process is brought indoors, and the persimmons are hung in a dry place such as a window with direct sunlight.
Following the traditional process can be a relaxing fall hobby. Just like regular drying, astringent persimmons like hachiyas are preferable since they can’t be easily enjoyed unless dried.
To get started, simply peel and slice the persimmon into flat, thin strips. Purify them in a pot of boiling water for a few seconds before placing in a single layer across a baking sheet, then transfer this to a dry area with direct sunlight. Since there is more surface area of the thin persimmon strips, the drying process is sped up to just about a week.
Enjoy the seasonal taste as is, or add it to a favorite recipe!
Maple and Pecan Dried Persimmon Balls
Transform your dried persimmons into a delightful autumn treat with these tasty maple and pecan dried persimmon balls. They’re simple to make and last in the fridge for about one week. Substitute pecans for any nut of your choice and add optional extra nuts for a crunchy coating.
Ingredients
• 8 dried persimmons
• 1 cup whole pecans (Or nuts of your choice. Use extra nuts for the coating if you like extra crunch)
• 3 tbsp fresh orange juice
• 2 tbsp maple syrup
• 1 tbsp unsalted butter
• 1/2 tsp cinnamon
• 1/4 tsp ginger powder
• 1 pinch of fine sea salt For Sugar Coating
• 2 tbsp maple sugar or light brown sugar
• pinch of fine sea salt
Method
1. Place a small saucepan over medium heat and add the butter, pecans, and a pinch of salt. Stir regularly to ensure even toasting and prevent the nuts from burning on one side.
2. Continue to roast the pecans for approximately 5 minutes, or until they are lightly toasted and fragrant. Remove the saucepan from the heat and allow the pecans to cool.
3. While the pecans are cooling, juice one orange. Transfer the roasted pecans to a blender or food processor and finely blend. Chop the dried persimmons into smaller pieces and add the chopped persimmons and remaining ingredients to the blender, blend until the mixture forms a smooth and thick paste.
4. To make the sugar coating, combine 2 tablespoons of maple sugar with a pinch of salt. Spread this mixture thinly onto a flat surface. Shape the persimmon and pecan batter into approximately 1.5-inch diameter balls, then roll each ball in the maple sugar coating until evenly coated. Transfer each coated ball to a cooling or serving plate. Optional – roll the maple sugar-coated balls in another batch of blended nuts for a crunchy coating.
5. Place the persimmon balls in the refrigerator and allow them to cool for about 1 hour before serving. This will allow the flavors to meld together, and the balls will firm up to the perfect consistency. Enjoy!